- TOSIZE.de
- Do it yourself
- DIY Projects
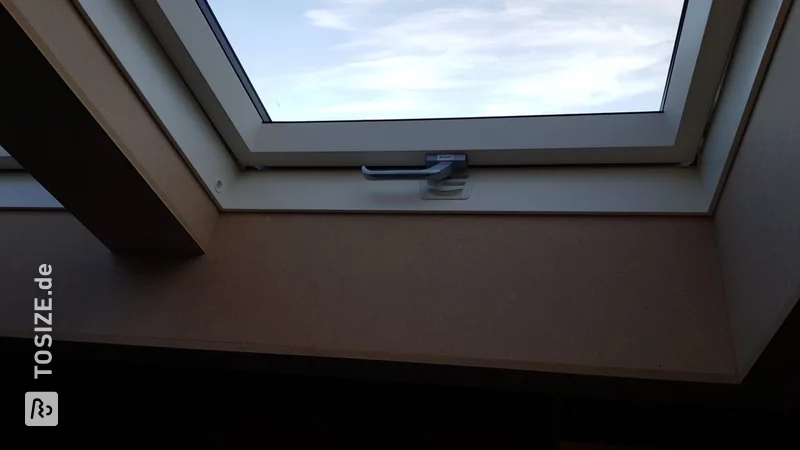
DIY Dormer Renovation with Waterproof Plywood, by Suki
DIY Dormer Renovation with Waterproof Plywood, by Suki


Create this project yourself with sheet material cut to size by TOSIZE.de!

Suki

Average
2 minutes
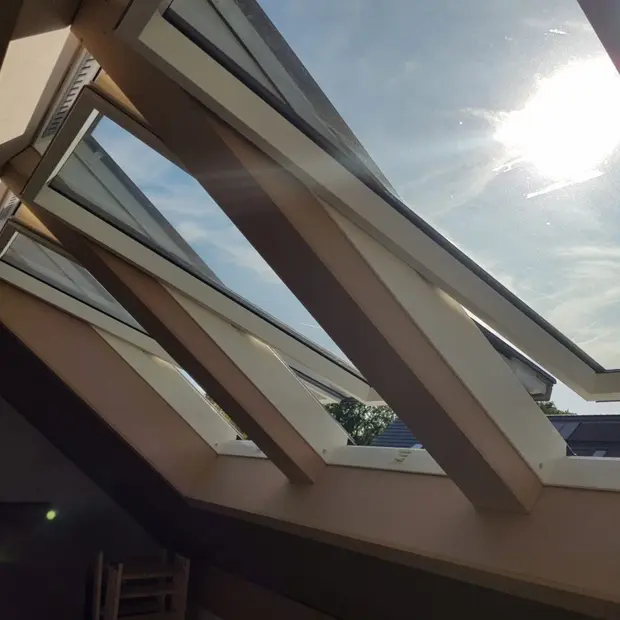
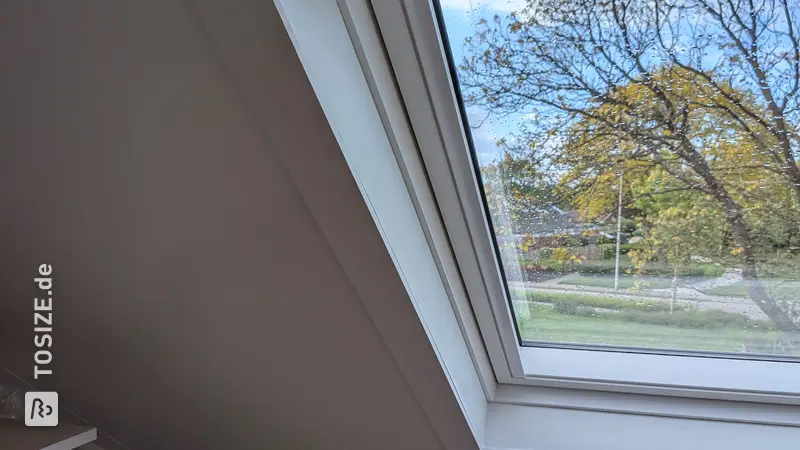
Renovation of the dormer window
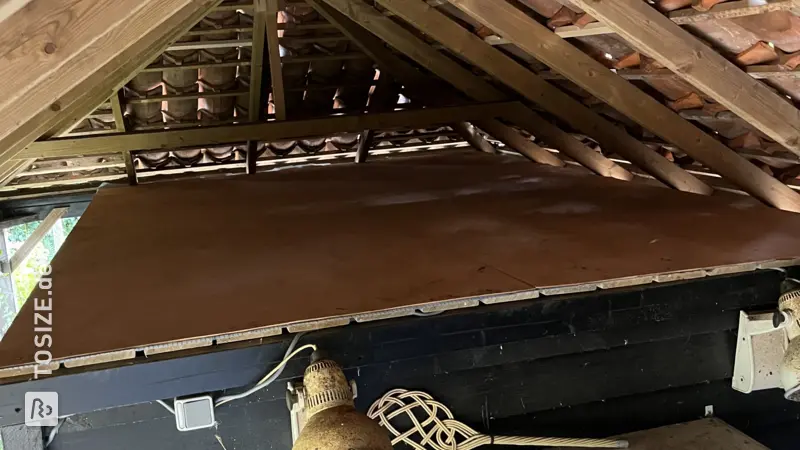
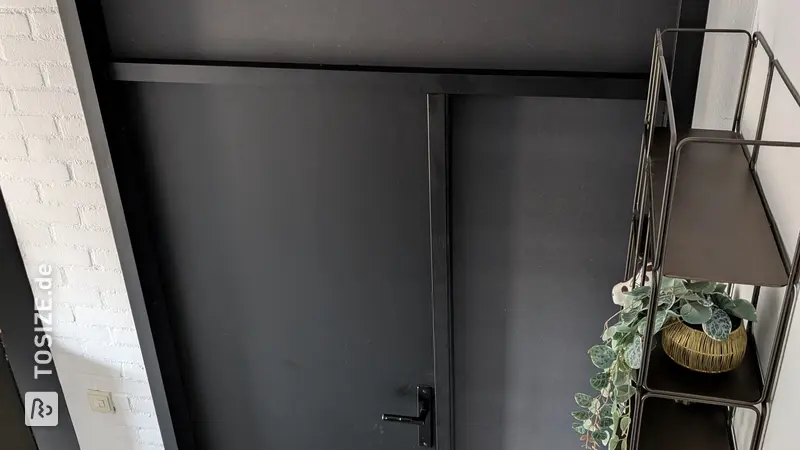
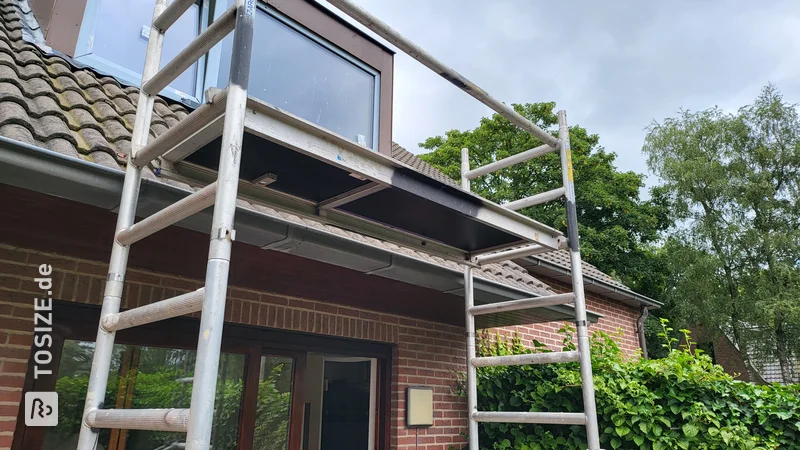
Have you ever considered renovating your dormer window? Suki did it, and the results are impressive! This renovation not only transforms the appearance of your home but also provides a lasting improvement in comfort.
Materials and Construction
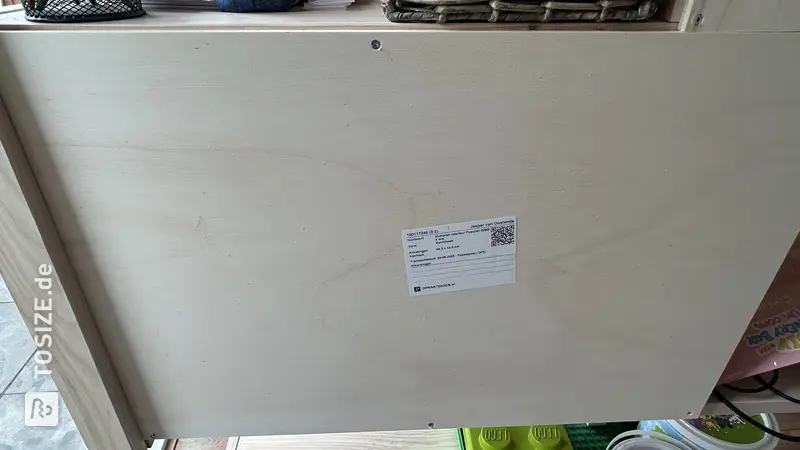
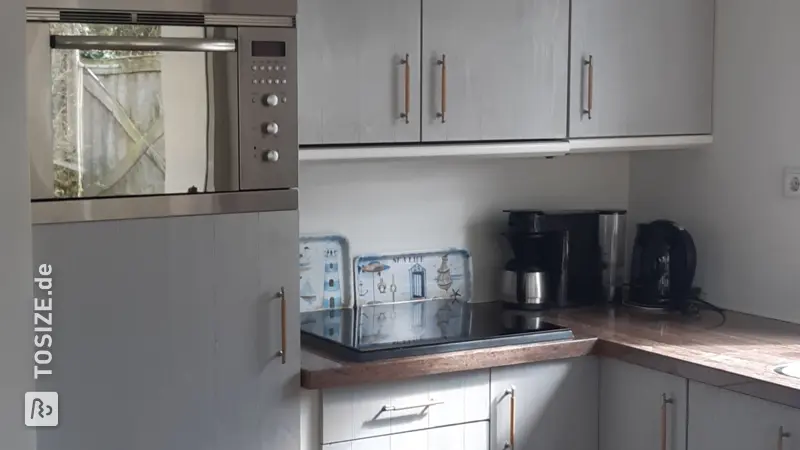
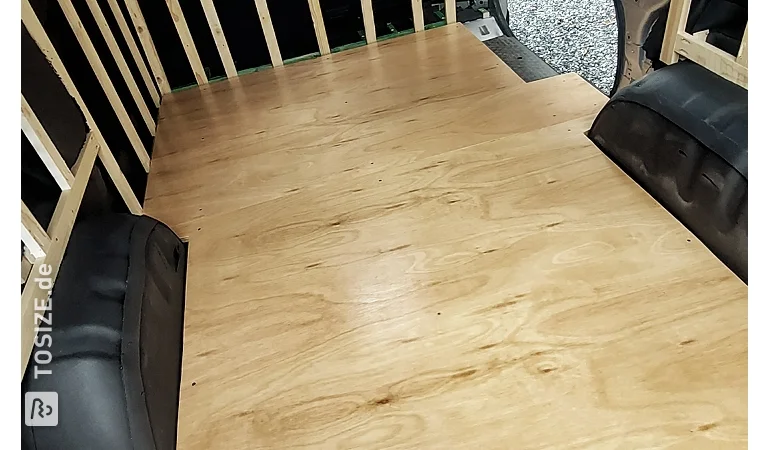
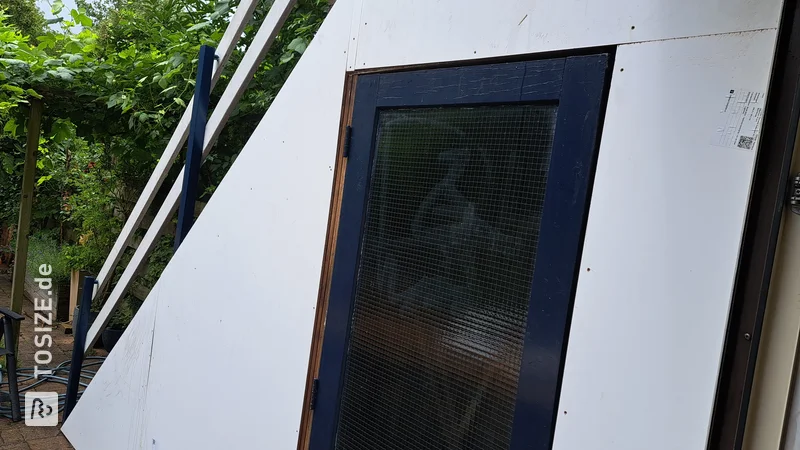
The renovation used Plywood Marine White Primed. This material is ideal for outdoor use because of its moisture resistance. The sleek lines and modern design make the dormer a real eye-catcher. Choosing Plywood Marine White Primed means choosing durability and quality.
Beautiful in the Surroundings
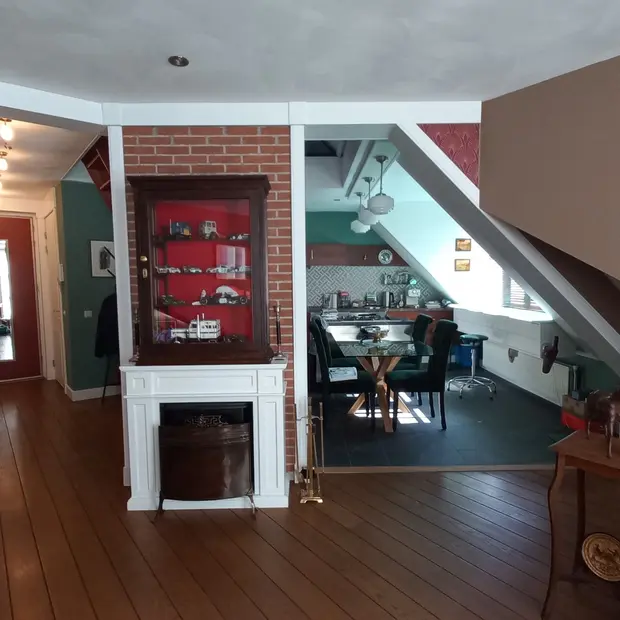
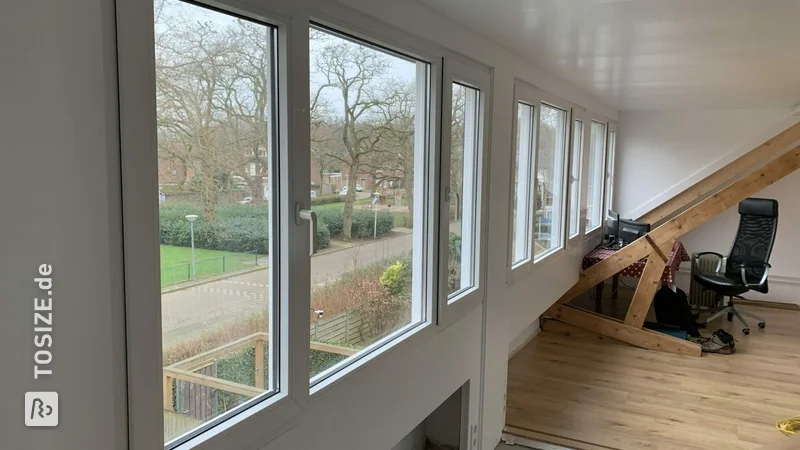
The dormer window fits beautifully into the existing row of houses and adds a fresh look to the facade. The chosen colors complement the rest of the house and its surroundings perfectly, creating a harmonious whole.
Unique Features
The renovation is not only aesthetically pleasing but also practical. The new dormer window provides more light and additional space. This not only enhances the living experience but also the value of the house.
Your Project with TOSIZE.de
At TOSIZE.de, we ensure your wood is cut to perfect size. This gives you the freedom to create exactly what you envision, without compromise. Suki has used this freedom to create something truly unique, completely tailored to her wishes.
Advantages of Plywood Marine White Primed
One of the materials used is Plywood Marine White Primed. This offers the benefits of durability and weather resistance. Perfect for a project like a dormer window that will be exposed to the elements.
DIY tips
A tip for anyone who wants to do it themselves: make sure all materials are properly primed and sealed to extend their lifespan and repel moisture. This applies to all visible edges and especially the seams.
Tip! Also check out our handy DIY tips!
Step by step guide
Preparation
- Primed waterproof plywood with rounded edges was chosen
Montage
- Screwed onto framework
Finish
- Lightly sand and apply a top coat
- Unfortunately, the right-angled corners of the 1930s house were no longer so right-angled, so the side walls had to be filled in a bit.
What now?
Want to make this DIY project? Check out Suki's saw list and complete your order easily.
243,23 €
All materials used
View all sheet materials
My experience with TOSIZE.de
Order
Delivery
General experience