- TOSIZE.de
- Do it yourself
- DIY Projects
DIY make your own wall shelf from Underlayment Fins Vuren, by handyman expert Ivonne
DIY make your own wall shelf from Underlayment Fins Vuren, by handyman expert Ivonne
Create this project yourself with sheet material cut to size by TOSIZE.de!
Easy
3 minutes
Do-it-yourself: Make your own wall shelf from Underlayment Fins Vuren. We saw all parts to size, so that you can immediately start building the job! We have created a handy DIY article about it so that you can have your homemade wall shelf at home in no time. Have fun with your DIY projects!
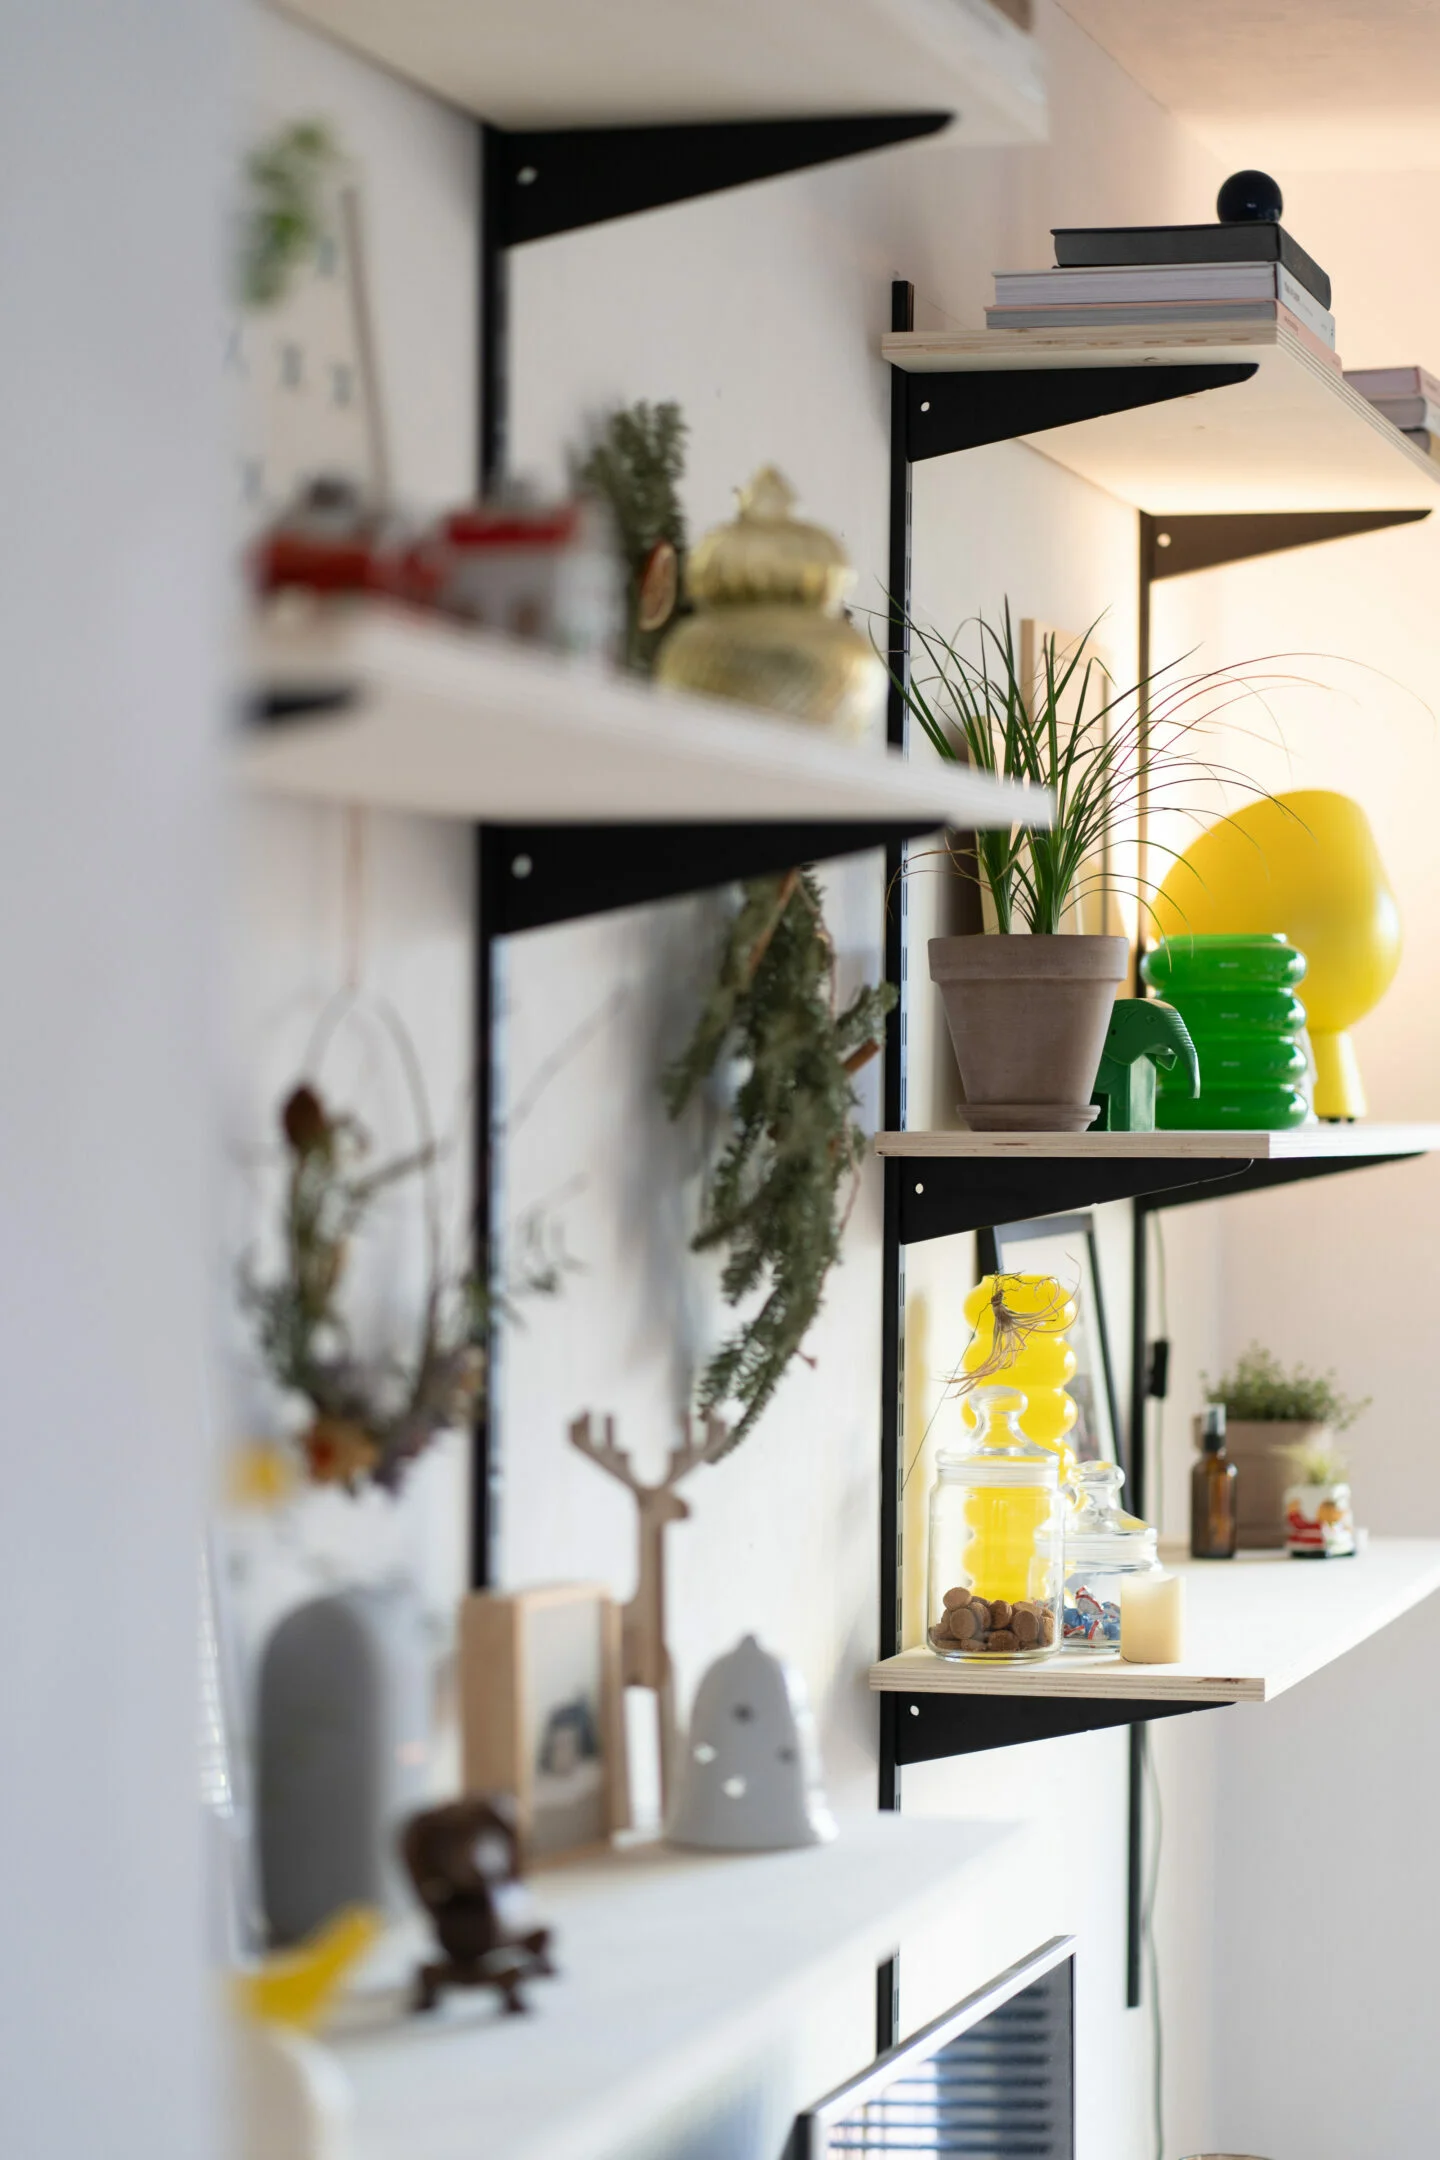
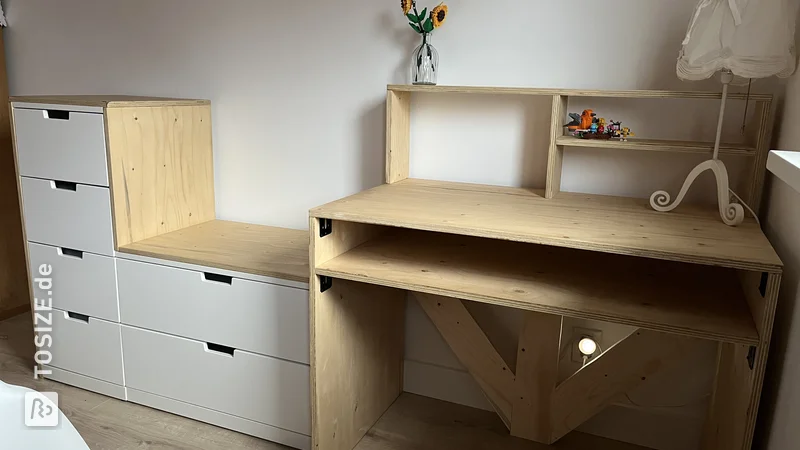
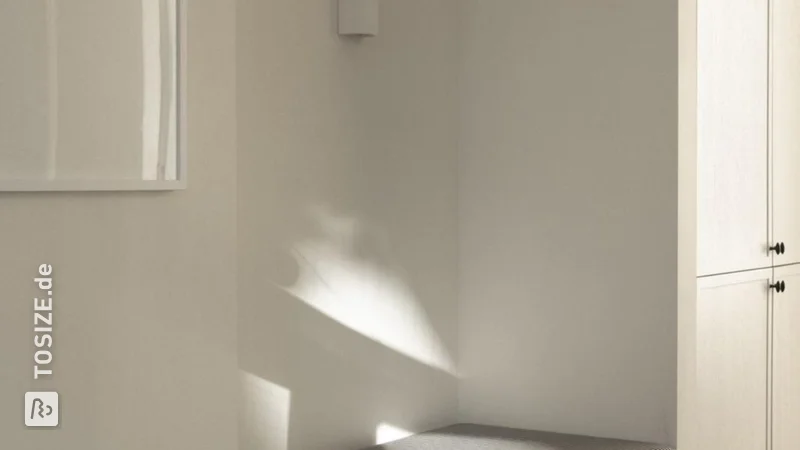
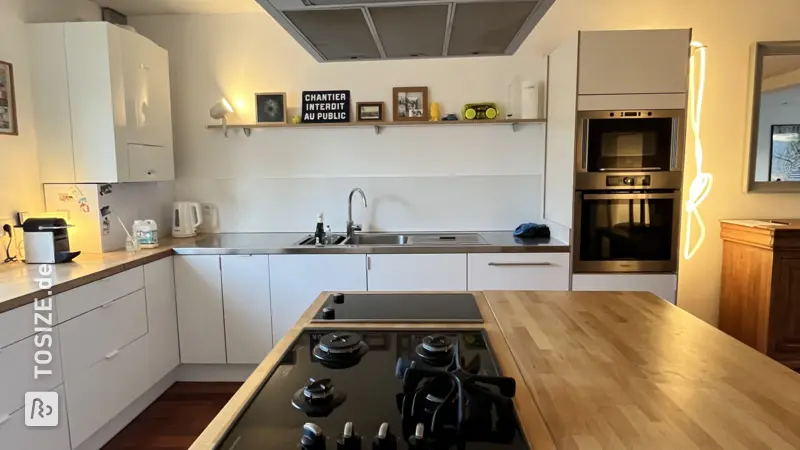
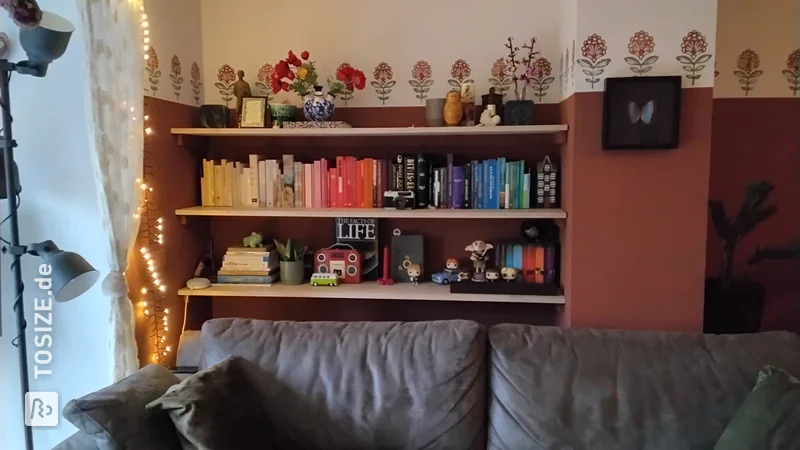
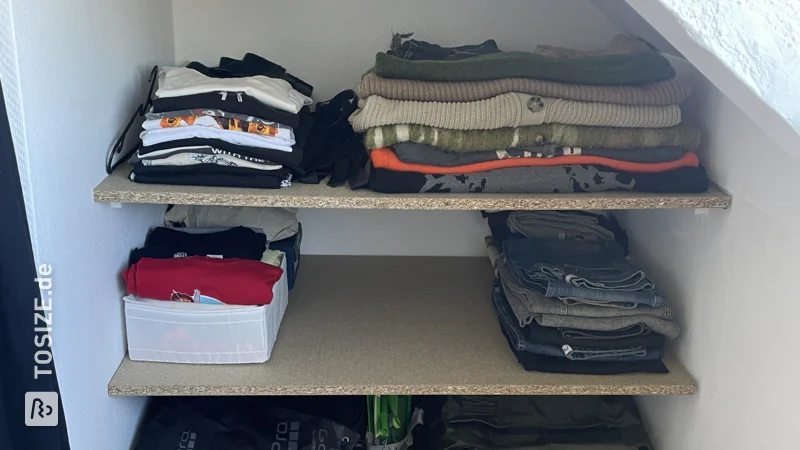
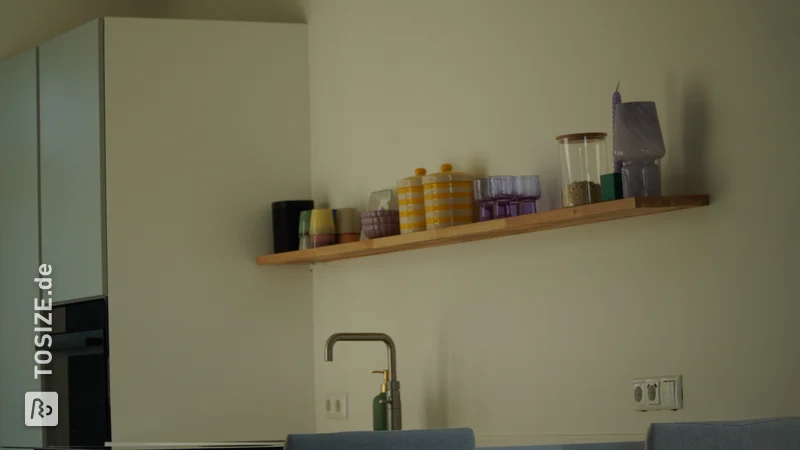
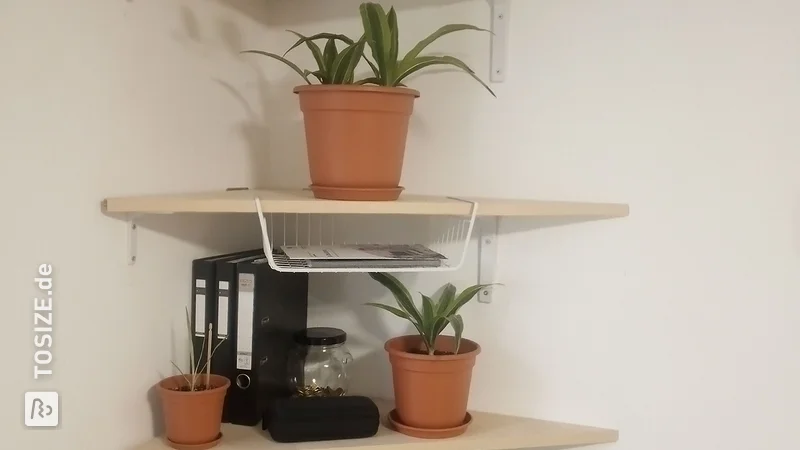
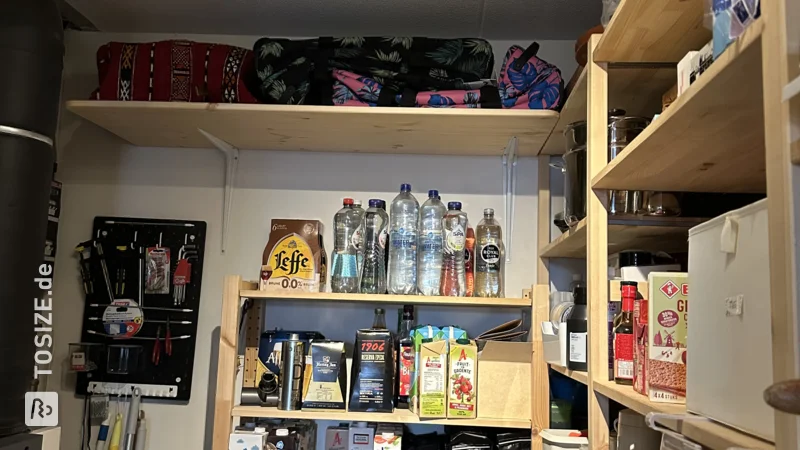
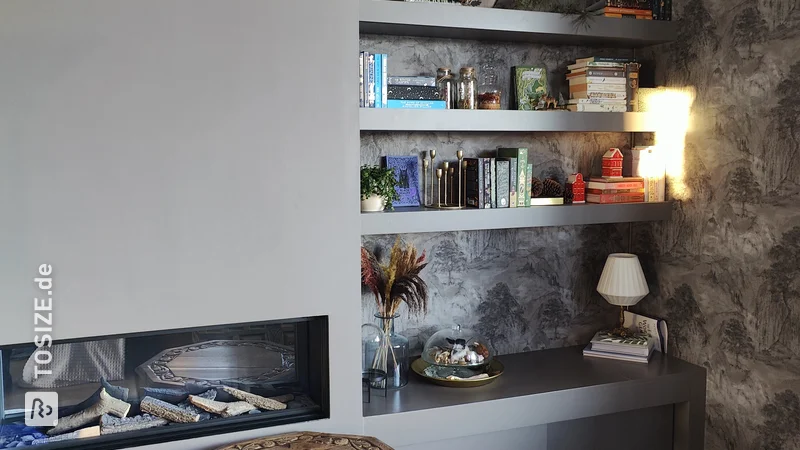
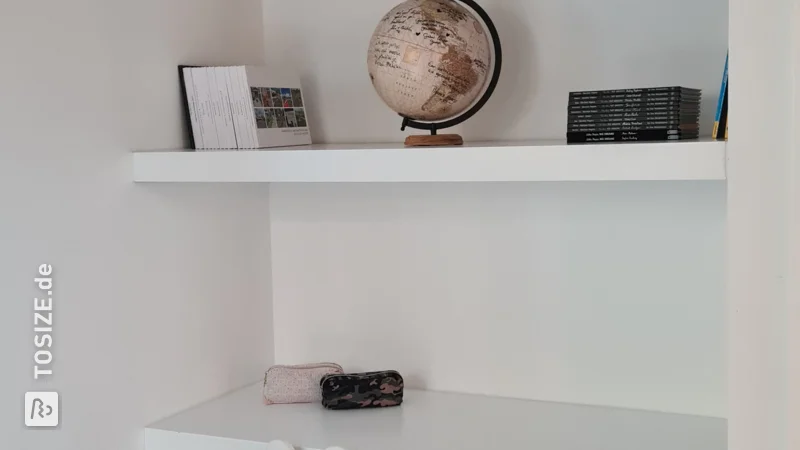
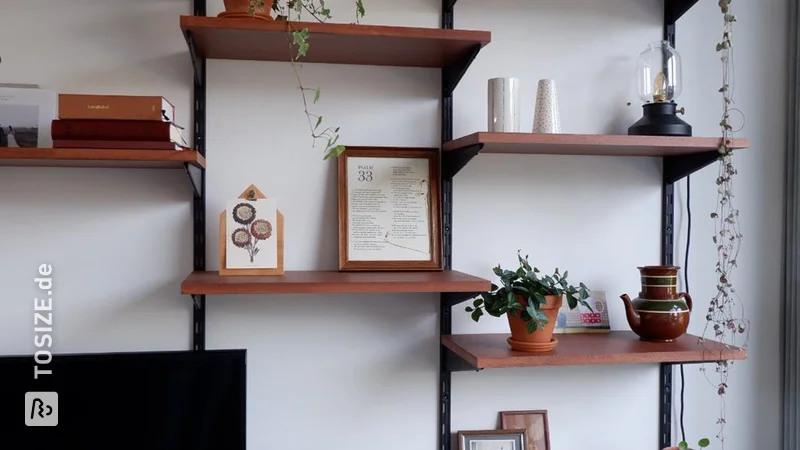
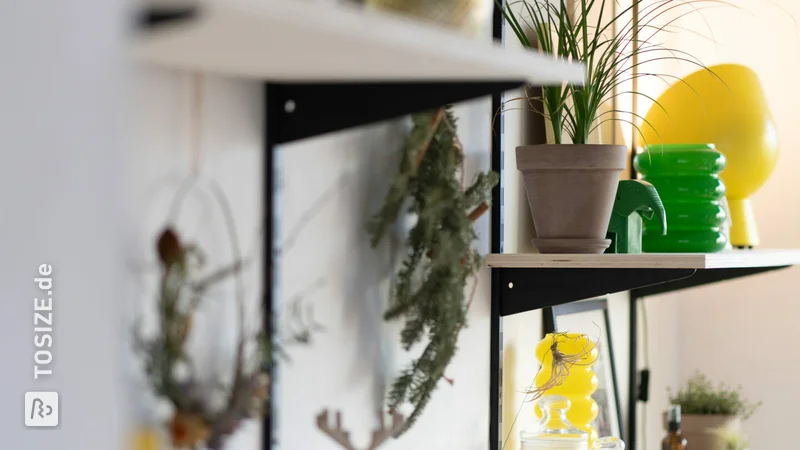
Wall shelf made of underlayment
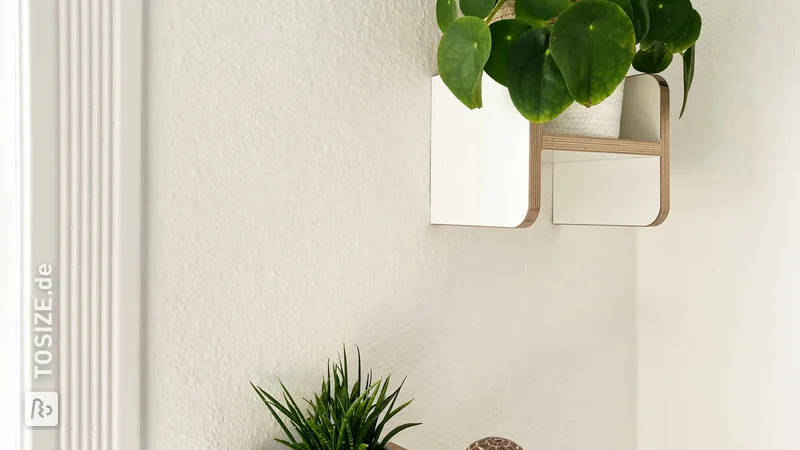
This multifunctional wall shelf invites you to look in the mirror all day long. Easily make this shelf yourself and present your most beautiful accessories with pride. Create your own changing exhibition or put all your practical necessities on the shelves, so you never miss a thing. We have already sawn the material for you down to the millimeter. It's your job to attach the planks together. The shelf brackets are also included and are easy to assemble! Who are you going to make happy with this beautiful wall shelf? Read more quickly.
What do you need?
Cut to size:
- Pellos Floor wall shelf: 1x 80.0 x 180.0 cm
- Small supporting board Pellos Floor: 2x 30.0 x 15.0 cm
- Large supporting board Pellos Floor: 1x 60.0 x 15.0 cm
- Shelf supports Pellos Floor: 6x 13.0 x 5.0 x 2.0 cm (shape: rectangle with bevelled long side)
- Pellos Floor hook: 1x 3.0 x 7.0 cm /ul>
- Drill
- Wood drill 3 mm
- Screws 4x40
- Wood glue
- Pencil and tape measure
- Mirror 31 x 121 cm
Tools:
Optional:
How I made this project have
Step 1
Get all your materials and tools ready for use. This takes a little more time upfront, but it helps enormously if everything is within reach during the job.
Step 2
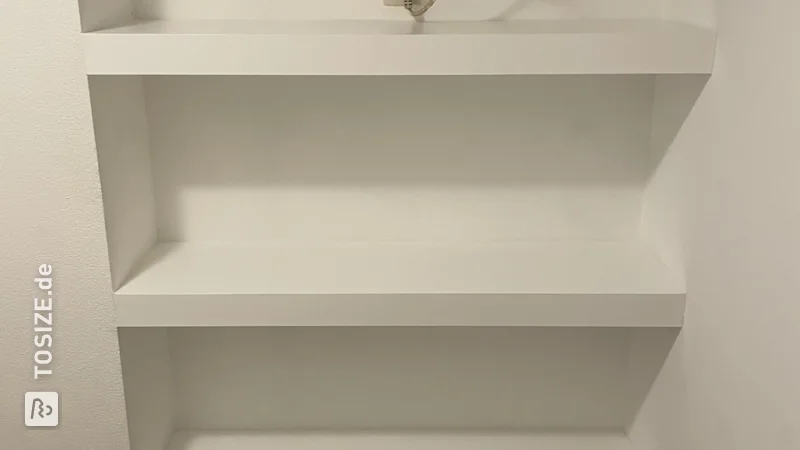
Put the large wall shelf of 18.0 x 180.0 cm on your work table. Measure where you want to attach the shelves and mirror. See our design as an example, but you can of course also create a different layout. Mark this on both the front and back of the wall shelf. It is useful to ask for assistance with this.
Step 3
Apply the wood glue to the short sides of the shelf supports and attach them. The beveled edge of the shelf support points downwards. Place the wall shelf down and let it dry (you can see how long the drying time is on the adhesive packaging). Any excess wood glue can easily be removed with a damp cloth.
Step 4
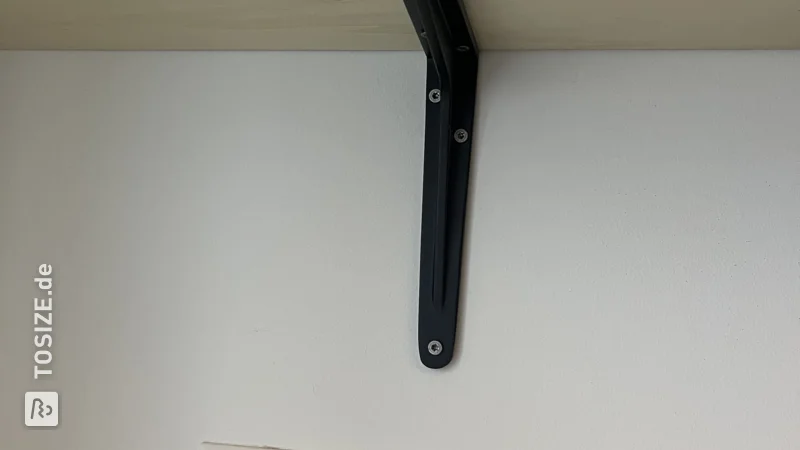
Then screw the 6 shelf supports and the hook from the back of the wall shelf for extra strength. It is useful to ask for assistance with this. Do not forget to pre-drill the holes so that the wood does not split. This is extra important if you are going to screw into the end edge of plywood. Attach two screws to the front of the wall shelf to hang the mirror.
Step 5
Use fine-grit sandpaper (maximum 180) to remove the pencil marks that are in view possible.
Step 6
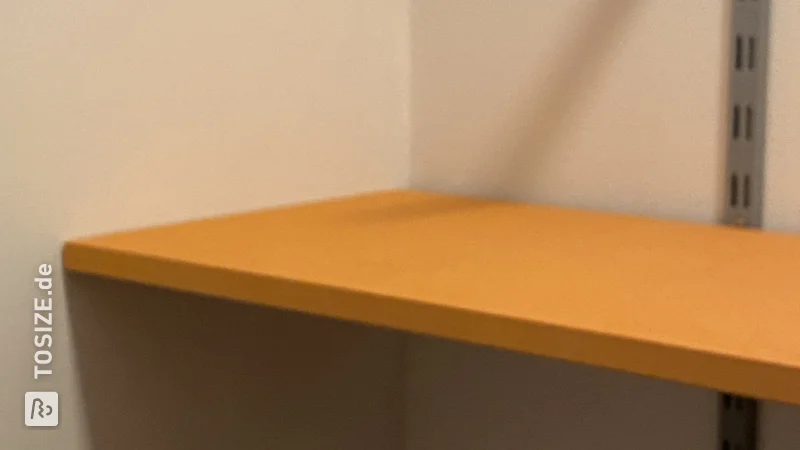
Apply wood glue to the top of the shelf supports and place the shelf on top. You can screw the shelves together for extra strength, but this is not necessary.
Step 7: Done!
Time to enjoy the end result! Take a look in the mirror and pat yourself on the back... You did it together!
Dimensions of my DIY project
80.0 x 180.0 cm
Tip! Also check out our handy DIY tips!
What now?
This is a project for inspiration. Because our assortment has changed, (some of) the products are no longer available.
View all sheet materials