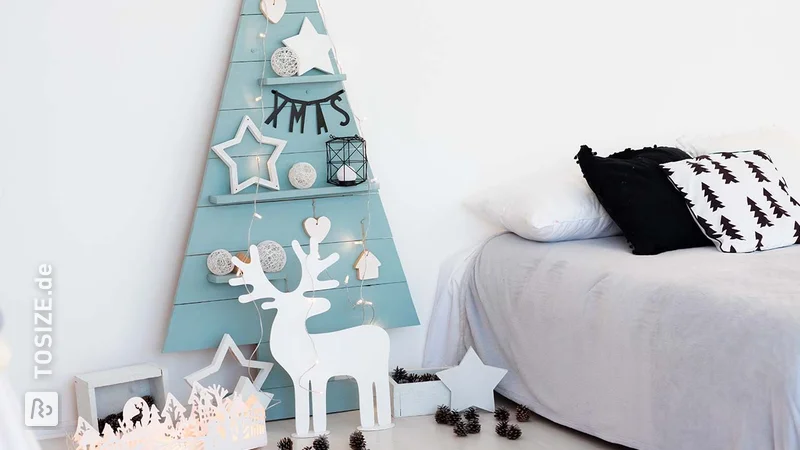
Practical tips: Finishing furniture with sealant
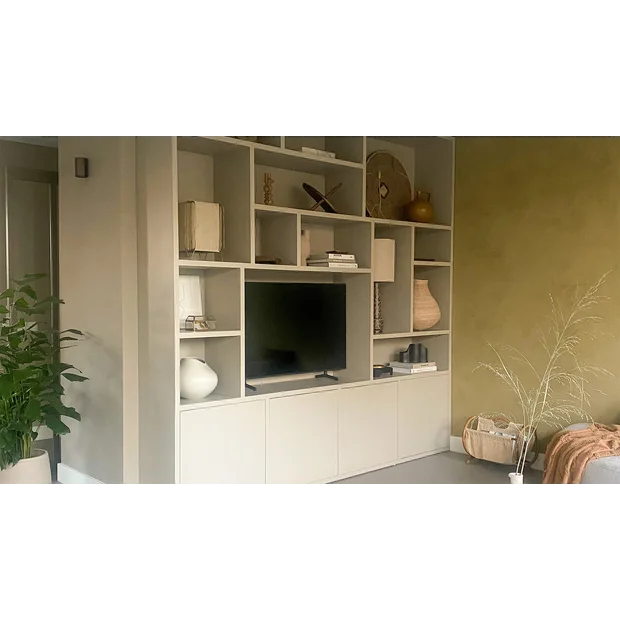
You've made a beautiful piece of furniture with a saw kit from TOSIZE.de and it looks perfect in your home. But how do you add that extra finishing touch that makes it look even better? With sealant!
When kitten?
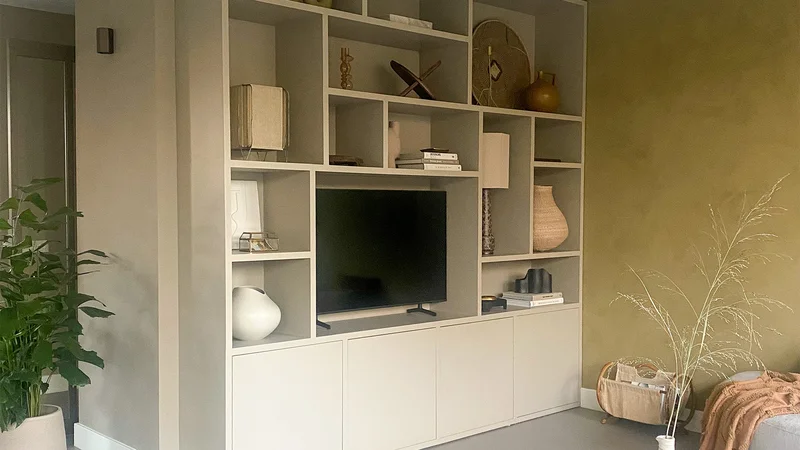
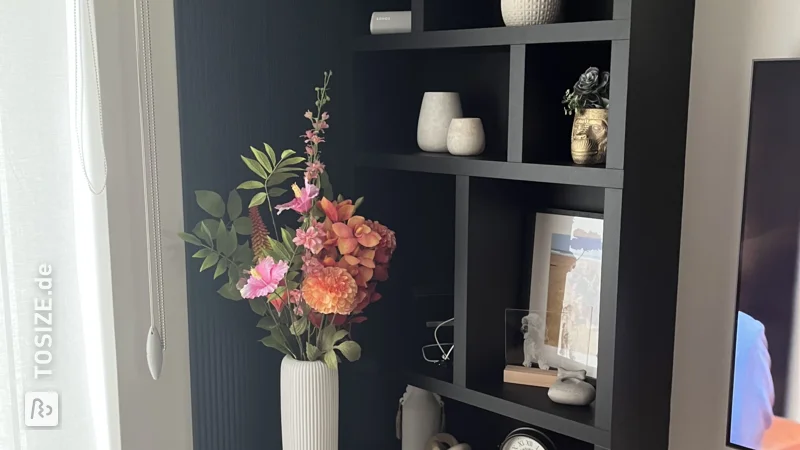
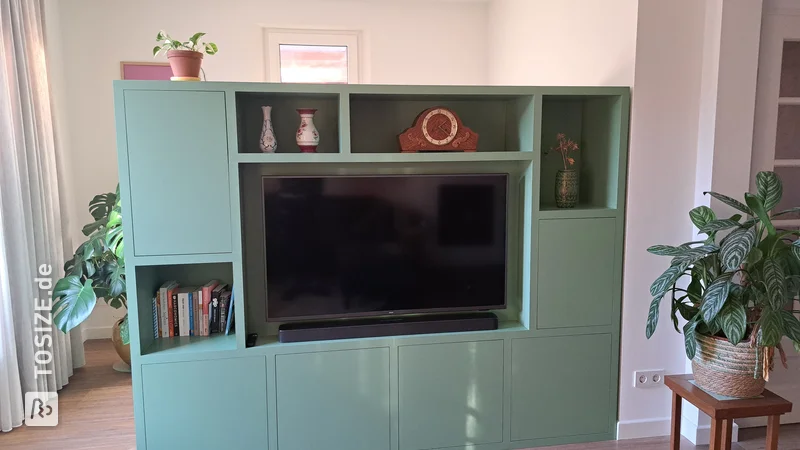
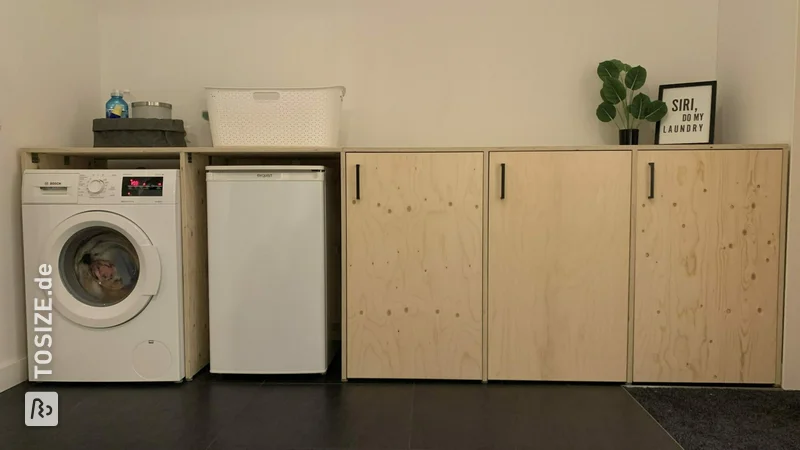
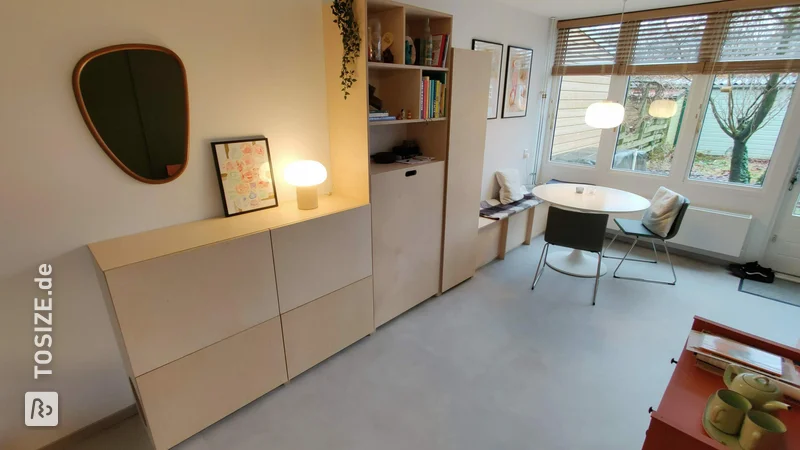
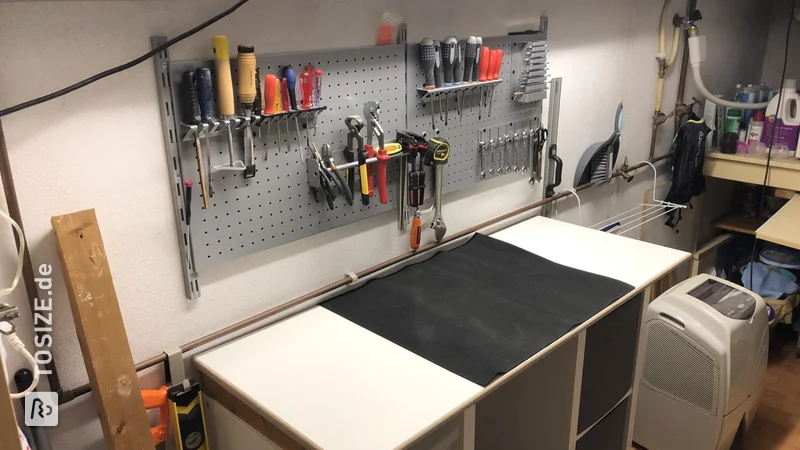
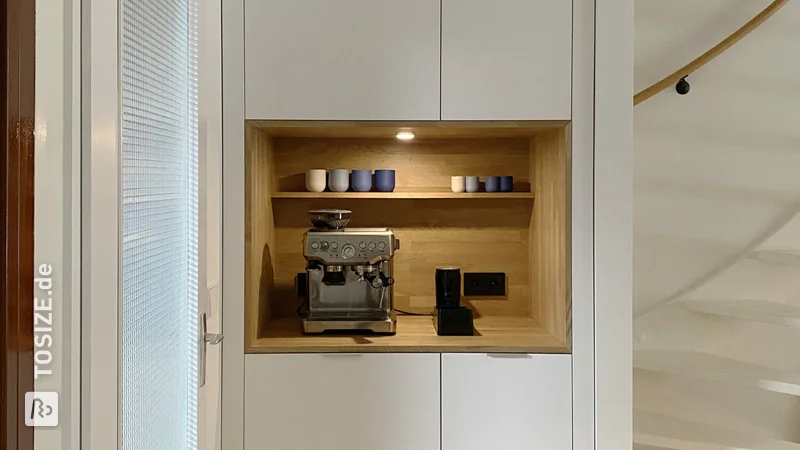
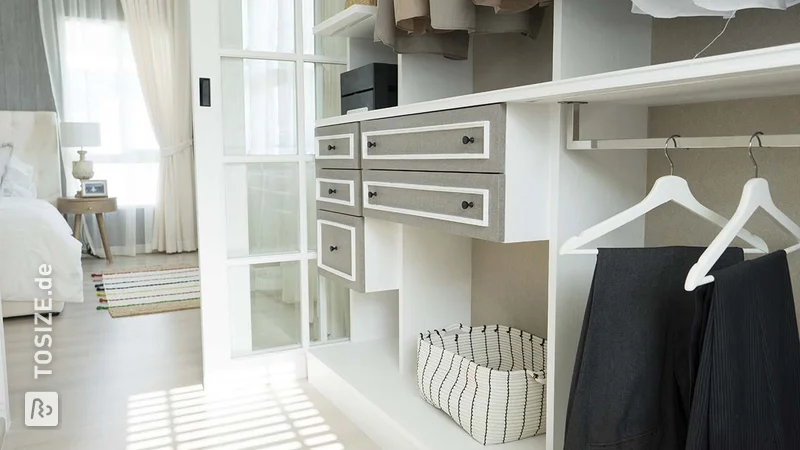
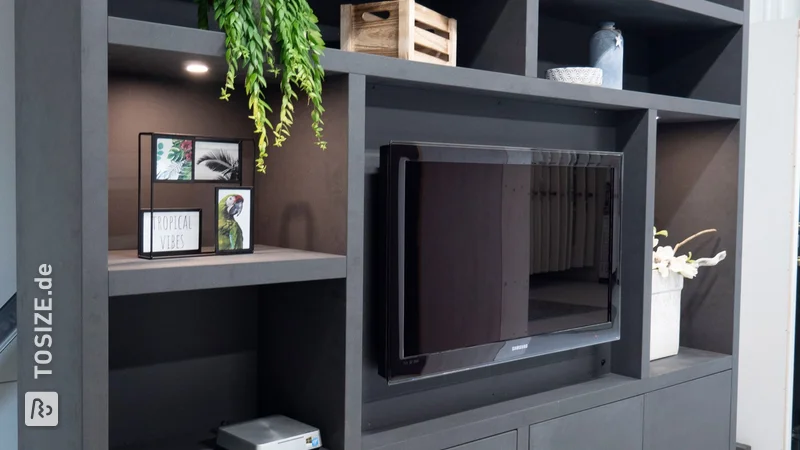
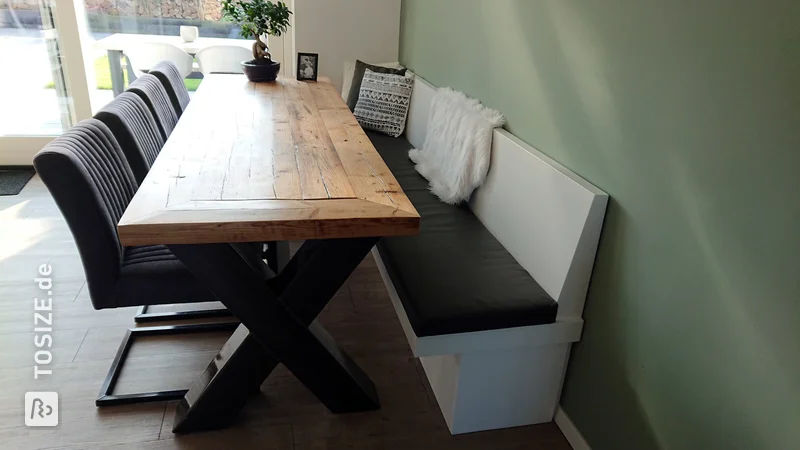
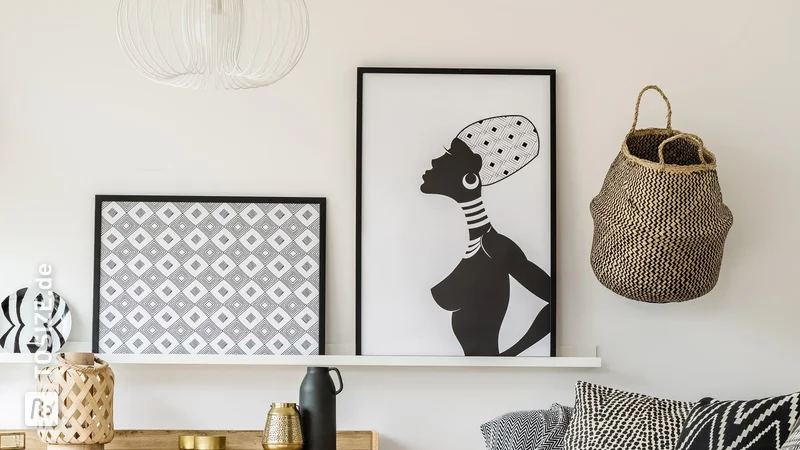
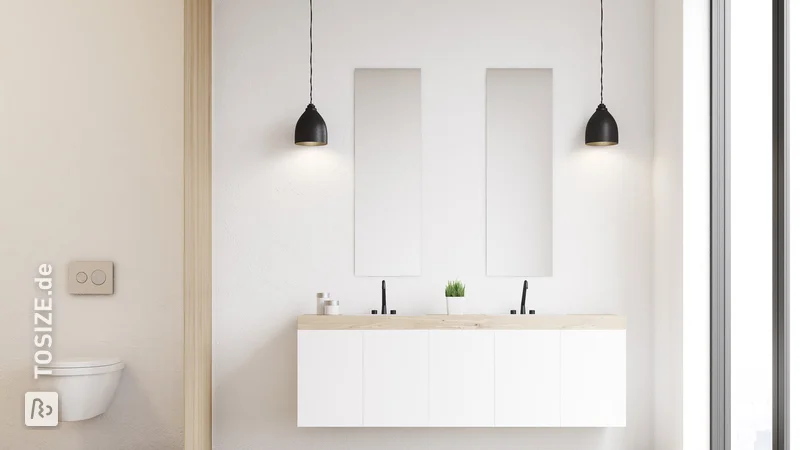
Putty is used to seal gaps, giving the whole a sleek appearance. These gaps can occur mainly in built-in cupboards, kitchens and skirting boards. When you have had a cupboard perfectly cut to size and fitted, it is nice to seal the edges of the cupboard with the wall, the ceiling and maybe even the floor. It is also very nice to seal the inner edges and gaps in a compartment cabinet, for an even tighter result.
Choosing the right kit
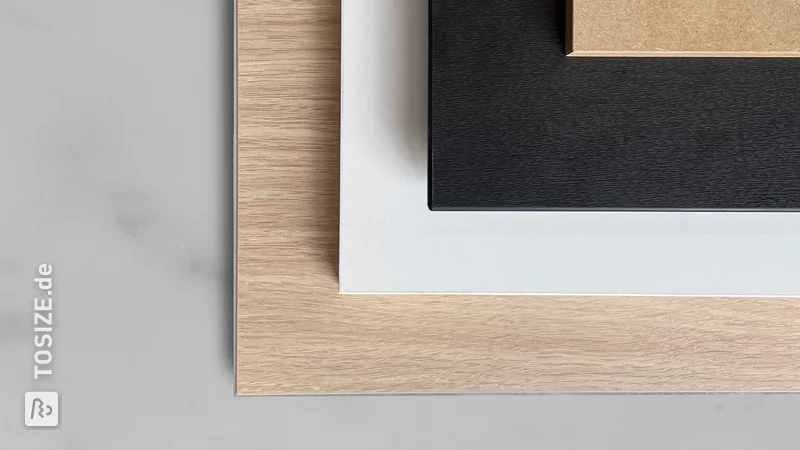
First of all, determine the type of sealant. Silicone sealant is used in damp rooms such as kitchens and bathrooms because it is resistant to moisture and mould. In principle, silicone sealant cannot be painted over. For other rooms, you can use acrylic sealant. Acrylic sealant is less elastic than silicone sealant and is not water-repellent. On the other hand, it dries faster and is thinnable with water. Putty is available in many different colours, but you can also paint over it. Choose the colour that comes closest to the final colour of your project, so that the sealant seam stands out as little as possible. Putty is also available in transparent colours, for an end result that is as inconspicuous as possible. However, this does require a little more maintenance, as transparent sealants tend to yellow quickly.
Good preparation
 Preparation is also important when it comes to sealants. First of all, make sure that you have enough paper and/or old rags around to wipe off the excess sealant. A plant sprayer with some soapy water and water is also indispensable. Acrylic sealant does not require soapy water; water is sufficient. Of course, you also need a good sealant gun. If you are doing your first sealing, or if you are sealing along a smooth wall where the sealant can easily 'run off', it is good to use masking tape. Painting tape is ideal for this. The tape makes the sealant edge nice and taut and prevents the sealant from flowing out and becoming messy! If you have never putty before, it is useful to practise on an inconspicuous spot first.
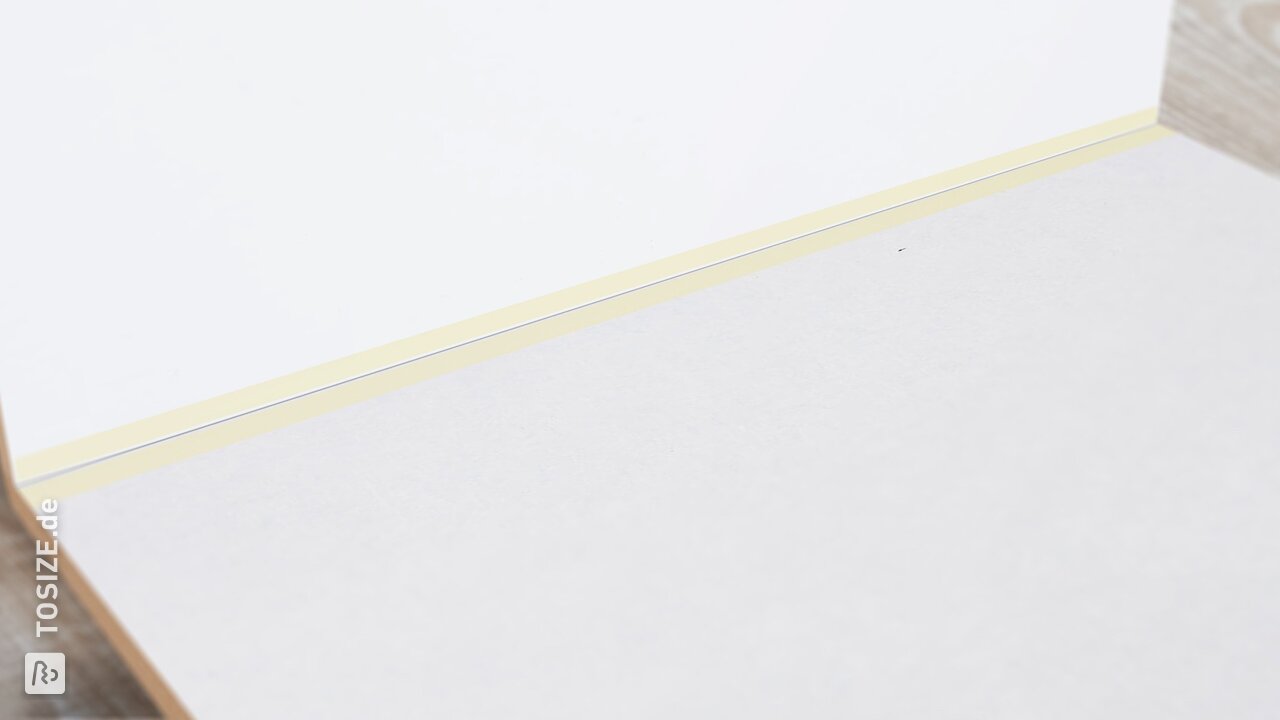
What is the technique for kitting?
Start by degreasing and drying the cracks you are going to seal. For degreasing, use a degreasing agent such as ammonia. Then cut open the tube, and cut the nozzle at an angle of 45 degrees. That way, you can fill the gap properly. Always move the tube towards you and not away from you. Fill a number of cracks in this way, but not too many, as the sealant must still be wet in order to smooth out nicely. There are various tools for smoothing a sealant edge, but most people prefer to simply use their finger. First spray the sealant edge you have just applied with the soapy water you have prepared, and wet your thumb or index finger with it too. Then you smoothly remove the excess sealant in one movement, so that a nice tight edge remains. Also remove the tape immediately, because if the sealant hardens, you can pull the sealant edge apart. After removing the tape, run your finger lightly over the sealant edge once more so that you do not have a raised edge where the tape has been. And, while you're at it, don't forget to take a step back and look at the difference with the chinks that have not yet been sealed. You will be amazed at how much nicer it looks when it is sealed off!